
Fiber Laser Condensation Alarm? 4 Critical Conditions to Check Before Restarting a High-Power Fiber Laser
A condensation alarm on your fiber laser is not just a nuisance — it's a protection mechanism that can save you from tens of thousands in optical component damage. Here are the 4 environmental conditions every operator must verify.
July 21, 2026 · 10 min read
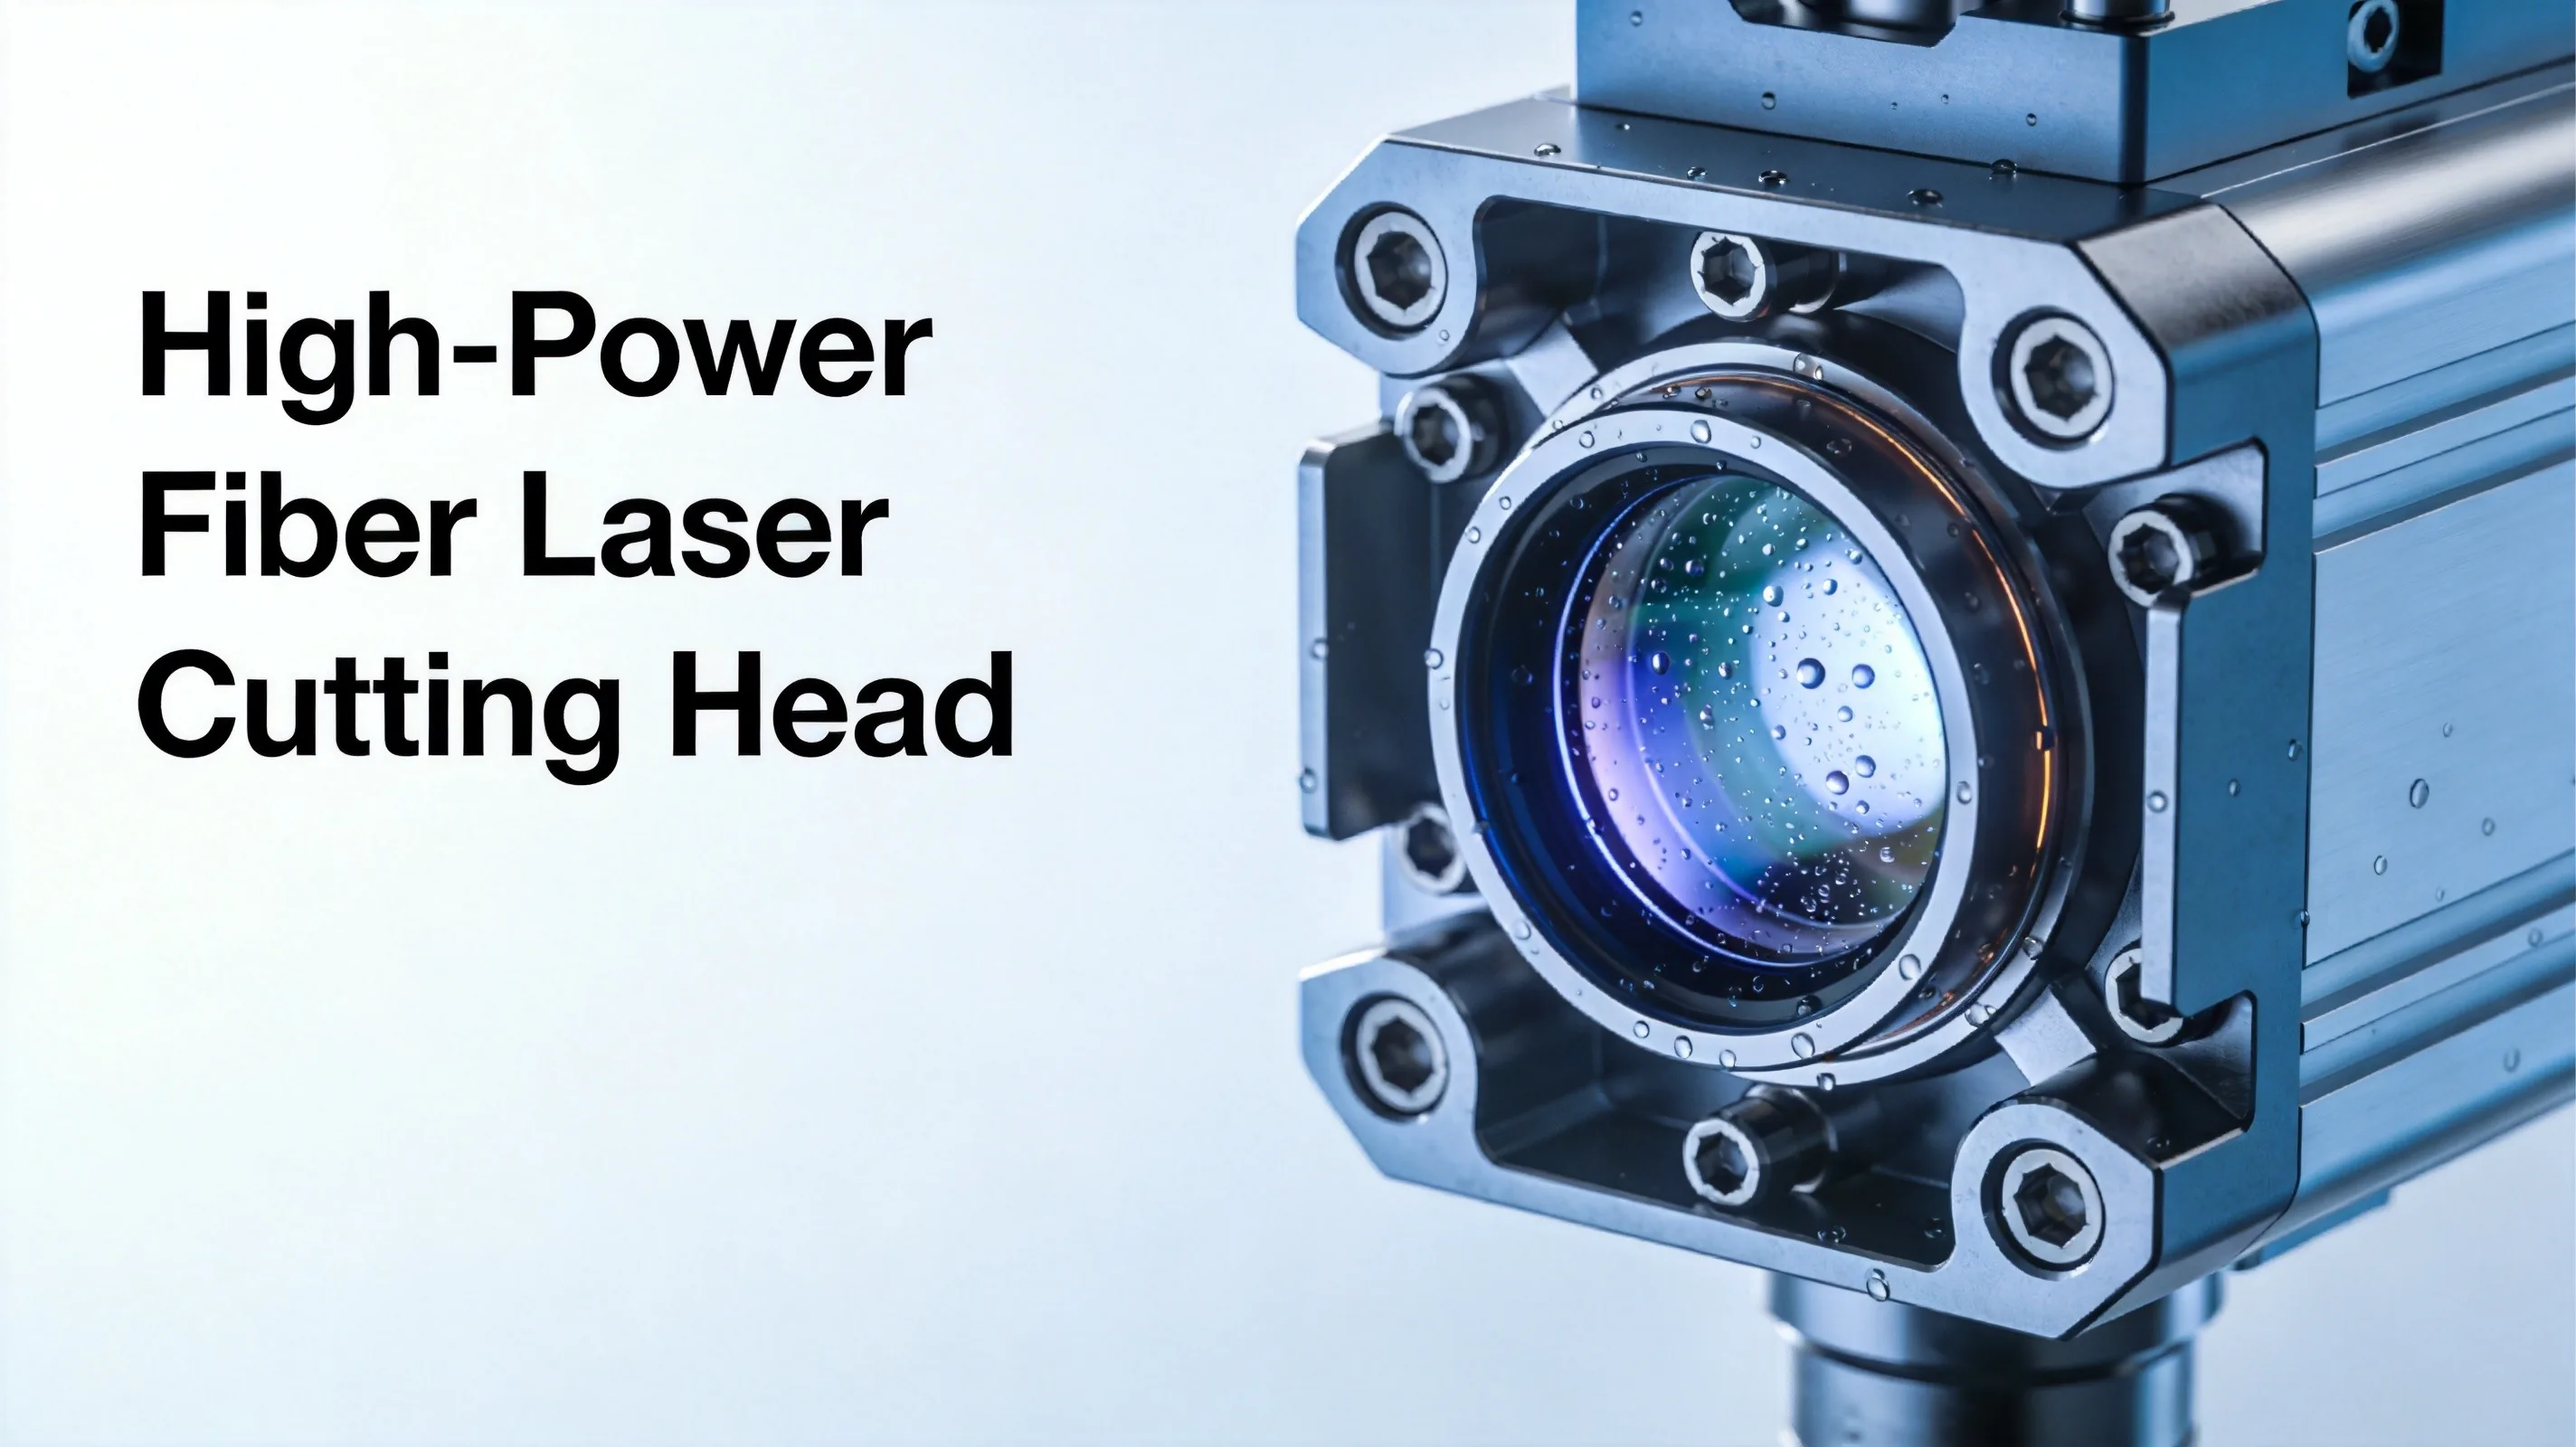
Why Condensation Alarms Matter
A fiber laser condensation alarm triggers when moisture forms on internal optical surfaces — the protective window, focusing lens, or collimator. For high-power systems (6kW+), even a single droplet can cause catastrophic damage in seconds when the beam passes through.
The real cost of ignoring a condensation alarm:
- Optical component failure: A $2,000–$8,000 protective lens or focus module destroyed
- Fiber cable damage: $15,000–$40,000 replacement + days of downtime
- Production loss: A high-volume shop loses $500–$2,000 per hour of downtime
- Safety hazard: Damaged optics can cause beam escape and fire risk
Modern fiber lasers have humidity sensors and dew point monitoring built into the cutting head and laser source. When the alarm sounds, do not bypass or reset it repeatedly. Instead, systematically check these four conditions.
1. Cooling Water Temperature Below Dew Point
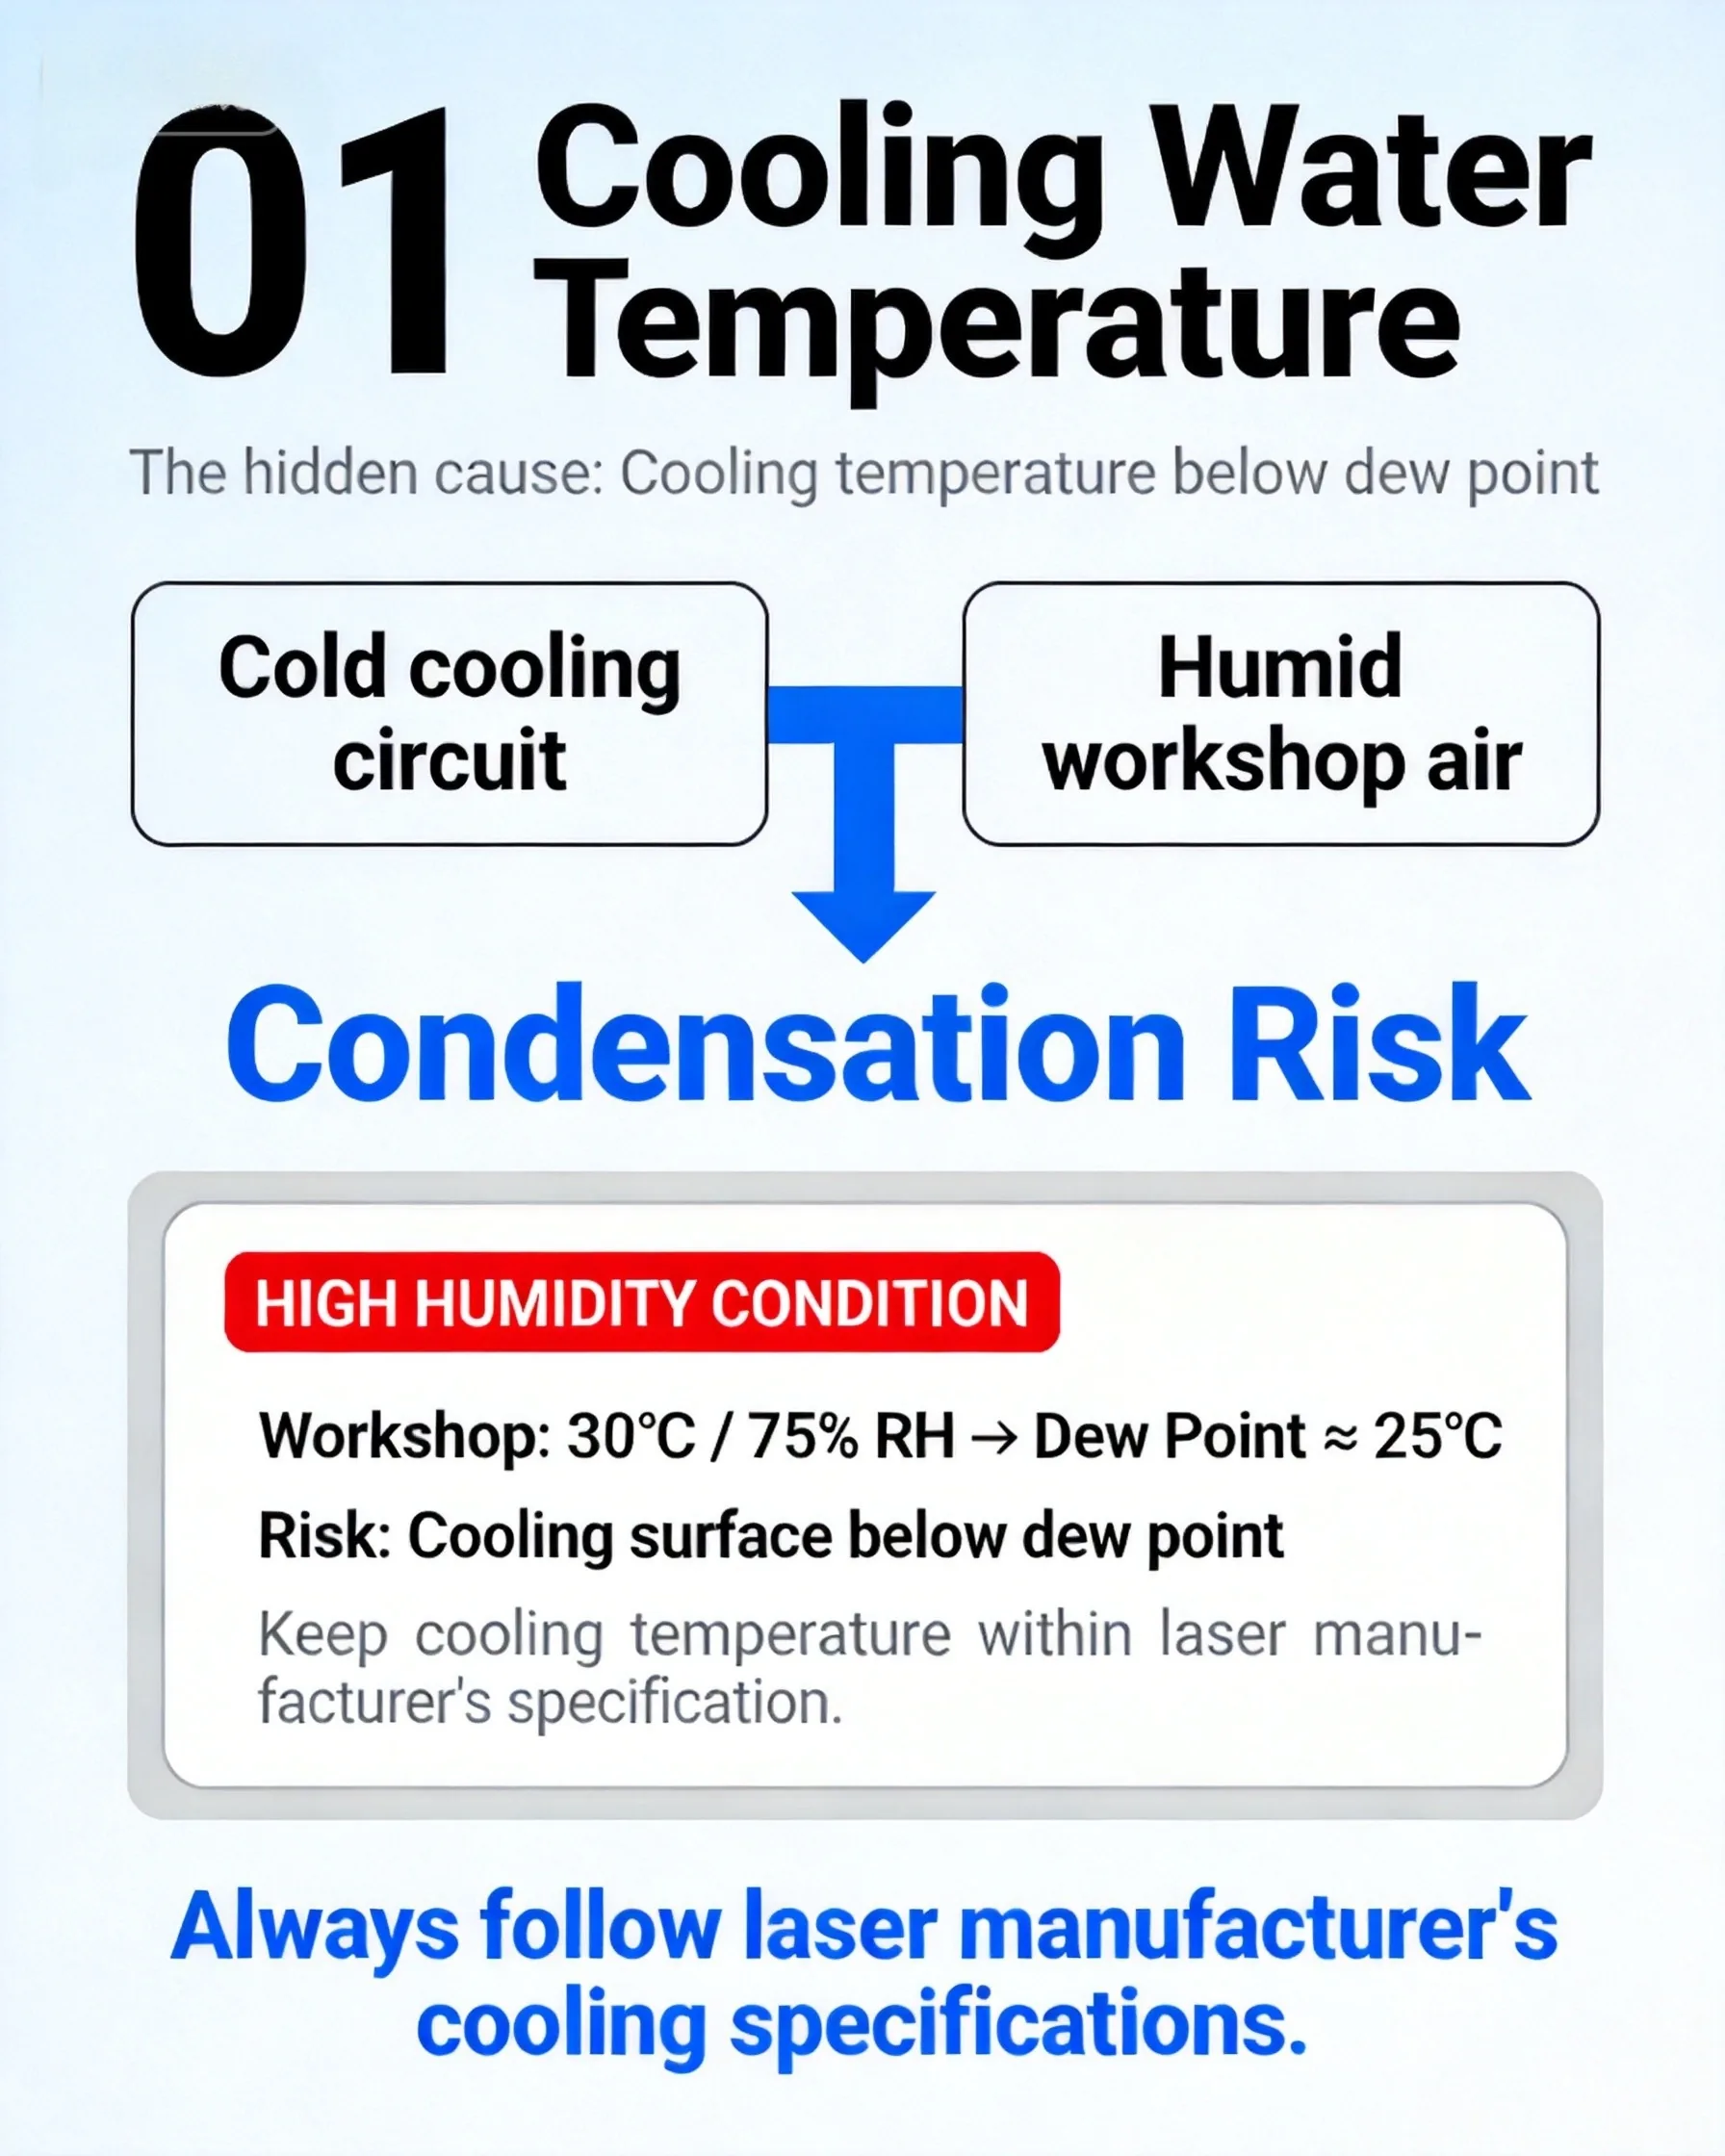
This is the #1 cause of laser head condensation — and it's almost always preventable.
How it happens
Your chiller cools the optics and laser source to maintain stable performance. But if the cooling water temperature drops below the workshop dew point, moisture from the ambient air condenses on cold surfaces inside the cutting head.
The math is simple:
- Workshop temperature: 28°C
- Workshop humidity: 65%
- → Dew point: ~21°C
- If your chiller is set to 18°C → condensation guaranteed
What to check
- Chiller set point vs. dew point — Water temperature must stay at least 2°C above the current dew point
- Head cooling vs. source cooling — Many systems have two circuits; the head cooling circuit is the most vulnerable
- Chiller efficiency drop — Dirty filters or low coolant can cause the chiller to run colder than the set point
- Rapid temperature changes — Morning startup when the shop is warming up is the highest-risk window
Fixes
- Raise the chiller set point to stay safely above dew point (22–24°C is common for 24/7 operation)
- Install a dew point meter near the laser workstation
- Program the chiller to auto-adjust based on ambient humidity readings
- Pre-warm the cooling circuit on cold mornings before laser activation
2. Workshop Humidity Control

You can have the perfect chiller setting and still get a fiber laser humidity problem if your workshop air itself is too moist.
Why workshop humidity matters
Even if cooling water is above dew point, high ambient humidity (above 65% RH) means:
- The air holds more moisture that can seep into the cutting head enclosure
- Temperature swings (opening doors, AC cycling) can push local conditions over the dew point threshold
- Condensation can form on surfaces you can't see — inside the fiber connector, on the QBH end cap
What to check
- Overall workshop RH — Target: 40–60% relative humidity
- Local humidity at the laser cell — Often 5–15% higher than the general shop floor
- Outdoor air infiltration — Loading docks, open doors, broken seals
- Seasonal changes — Monsoon season or summer humidity spikes are the most common trigger
- HVAC/dehumidifier maintenance — Clogged filters reduce dehumidification capacity
Fixes
- Install dedicated dehumidification in the laser cell area (not just general shop HVAC)
- Seal the laser enclosure properly — check door gaskets and cable pass-throughs
- Use desiccant breathers on electrical cabinets if humidity is chronically high
- Monitor and log humidity data to identify patterns and seasonal trends
3. CDA Dry Air Protection

Clean Dry Air (CDA) purging is the single most effective active protection against fiber laser condensation in the cutting head. Yet it's also the most commonly neglected system.
How CDA protection works
A continuous flow of dry, filtered air into the cutting head cavity:
- Maintains positive pressure, preventing humid ambient air from entering
- Flushes out any moisture that does get in
- Keeps the internal relative humidity well below the condensation threshold
- Also protects against dust, fumes, and spatter contamination
What to check
- CDA pressure and flow rate — Follow manufacturer specs (typically 20–50 L/min at 0.3–0.5 MPa)
- Air dryer performance — Outlet dew point should be ≤ -20°C (-4°F)
- Filter condition — Particulate and oil filters need regular replacement
- Air line leaks — Even small leaks before the head reduce effective purging
- Drain valves on compressors — Water in compressed air lines is a direct condensation source
Fixes
- Install a dew point alarm on the CDA supply line — most modern systems support this
- Replace dryer filters on schedule (don't wait for a problem)
- Add a dedicated refrigerated dryer if using shop air
- Verify CDA flow with a flow meter during your weekly check
- Ensure all air line drains are working and emptied daily
Quick CDA effectiveness test: On a humid day, place a small mirror inside the cutting head cavity with CDA flowing. If the mirror fogs when you hold it near the nozzle opening (where ambient air enters), your CDA flow or quality is insufficient. A properly functioning CDA system keeps the mirror completely clear.
4. Startup/Shutdown Sequence
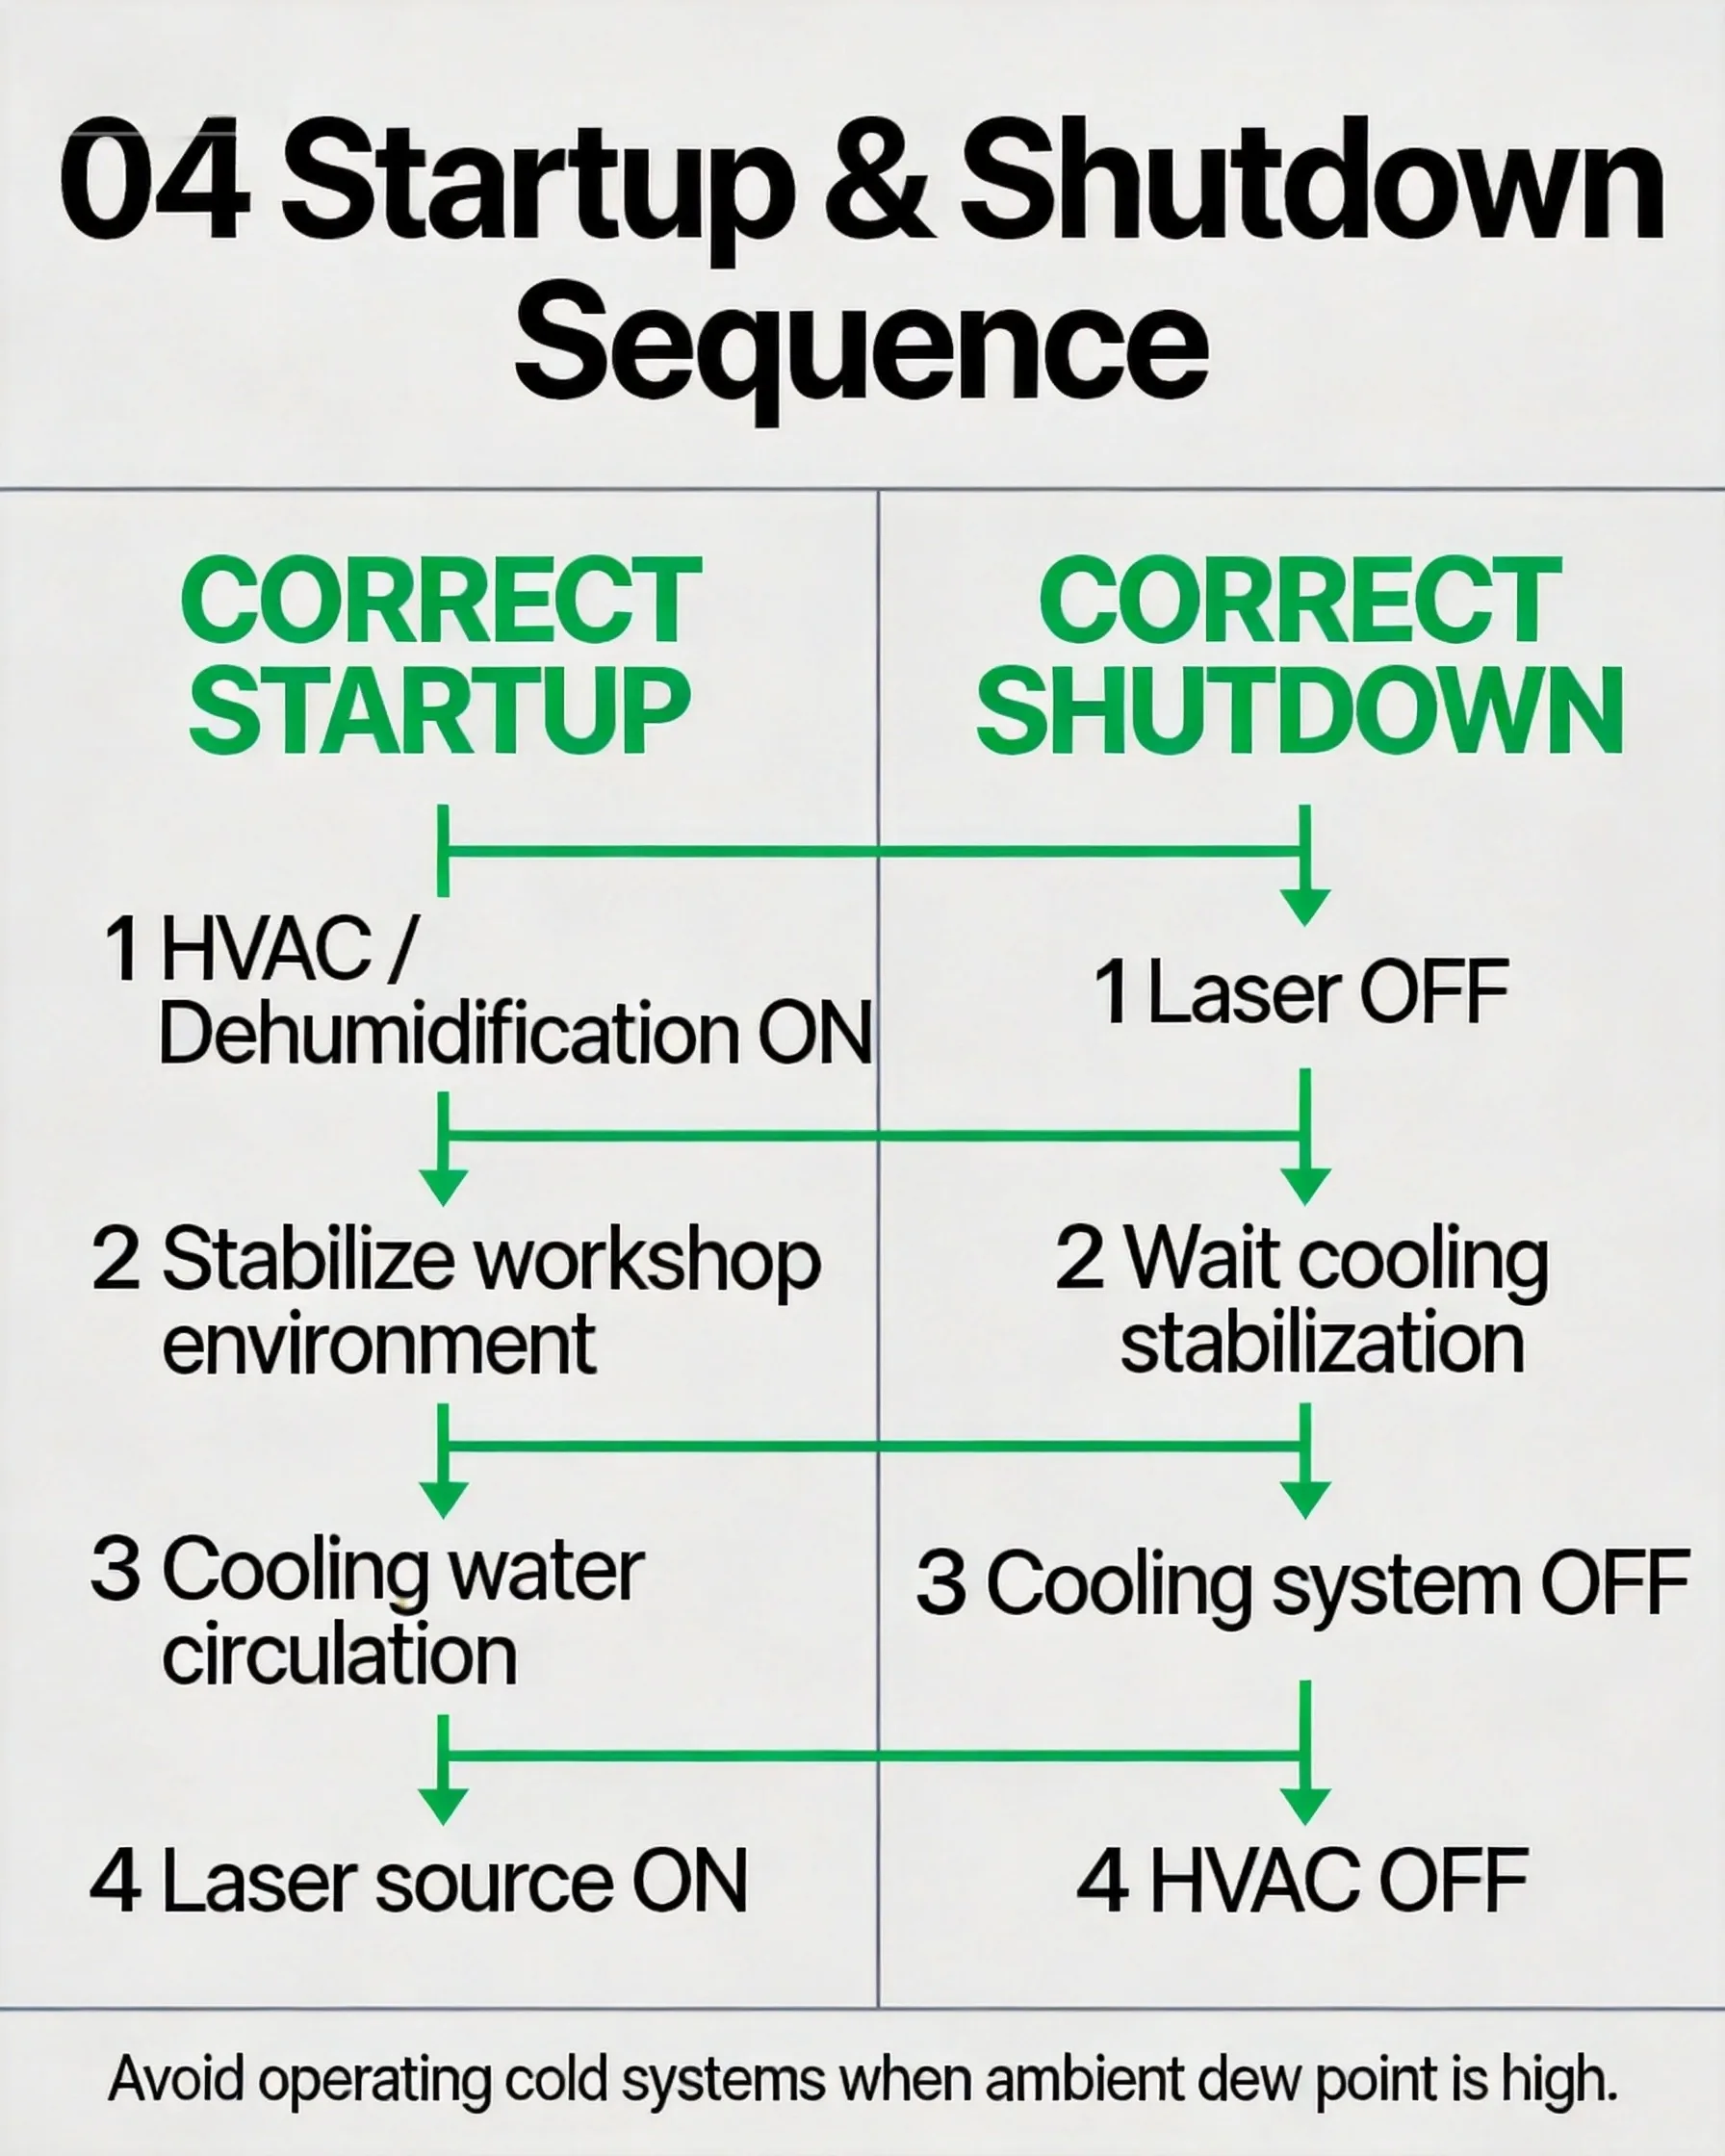
Most condensation damage doesn't happen during steady production — it happens during startup and shutdown, when conditions are in flux.
The dangerous transition periods
Morning startup:
- The workshop is warming up, but the laser and cooling system are still cold
- If you power up the laser immediately, cold optics meet warm, humid air → condensation forms fast
- The laser might fire before sensors detect the moisture
Evening / weekend shutdown:
- If you turn off CDA and chiller at the same time as the laser, warm air seeps into the cooling head as everything equalizes
- Over a weekend, this can cause significant condensation and even corrosion on optical surfaces
- Monday morning startup then fires the laser through moisture-damaged lenses
Proper Startup Sequence
- Turn on CDA and air dryer first — Let dry air flow for 15–30 minutes
- Start the chiller — Let temperatures stabilize gradually
- Power up the laser source — Wait for READY status
- Verify all temperature/humidity readings are within spec — Check both laser head and source
- Run a low-power test pulse — Before full-power production cutting
- Begin production
Proper Shutdown Sequence
- Finish cutting → let the head cool gradually (reduce power over 2–3 minutes if possible)
- Turn off laser source
- Keep CDA running for 30–60 minutes after shutdown (especially if the shop is humid)
- Turn off chiller — Some shops leave chiller running at a higher set point overnight
- Maintain a minimum CDA trickle for long weekends or holidays if possible
When to Call for Service
If you've checked all four conditions and the condensation alarm persists, it may indicate:
- A faulty humidity sensor that needs calibration or replacement
- A damaged seal on the cutting head that's letting in moist air
- An internal coolant leak inside the head (serious — do not operate)
- A laser source internal issue that requires manufacturer service
Never bypass a persistent condensation alarm. The cost of replacing a sensor is trivial compared to the damage moisture can cause.
CTA: Get the Complete Condensation Checklist
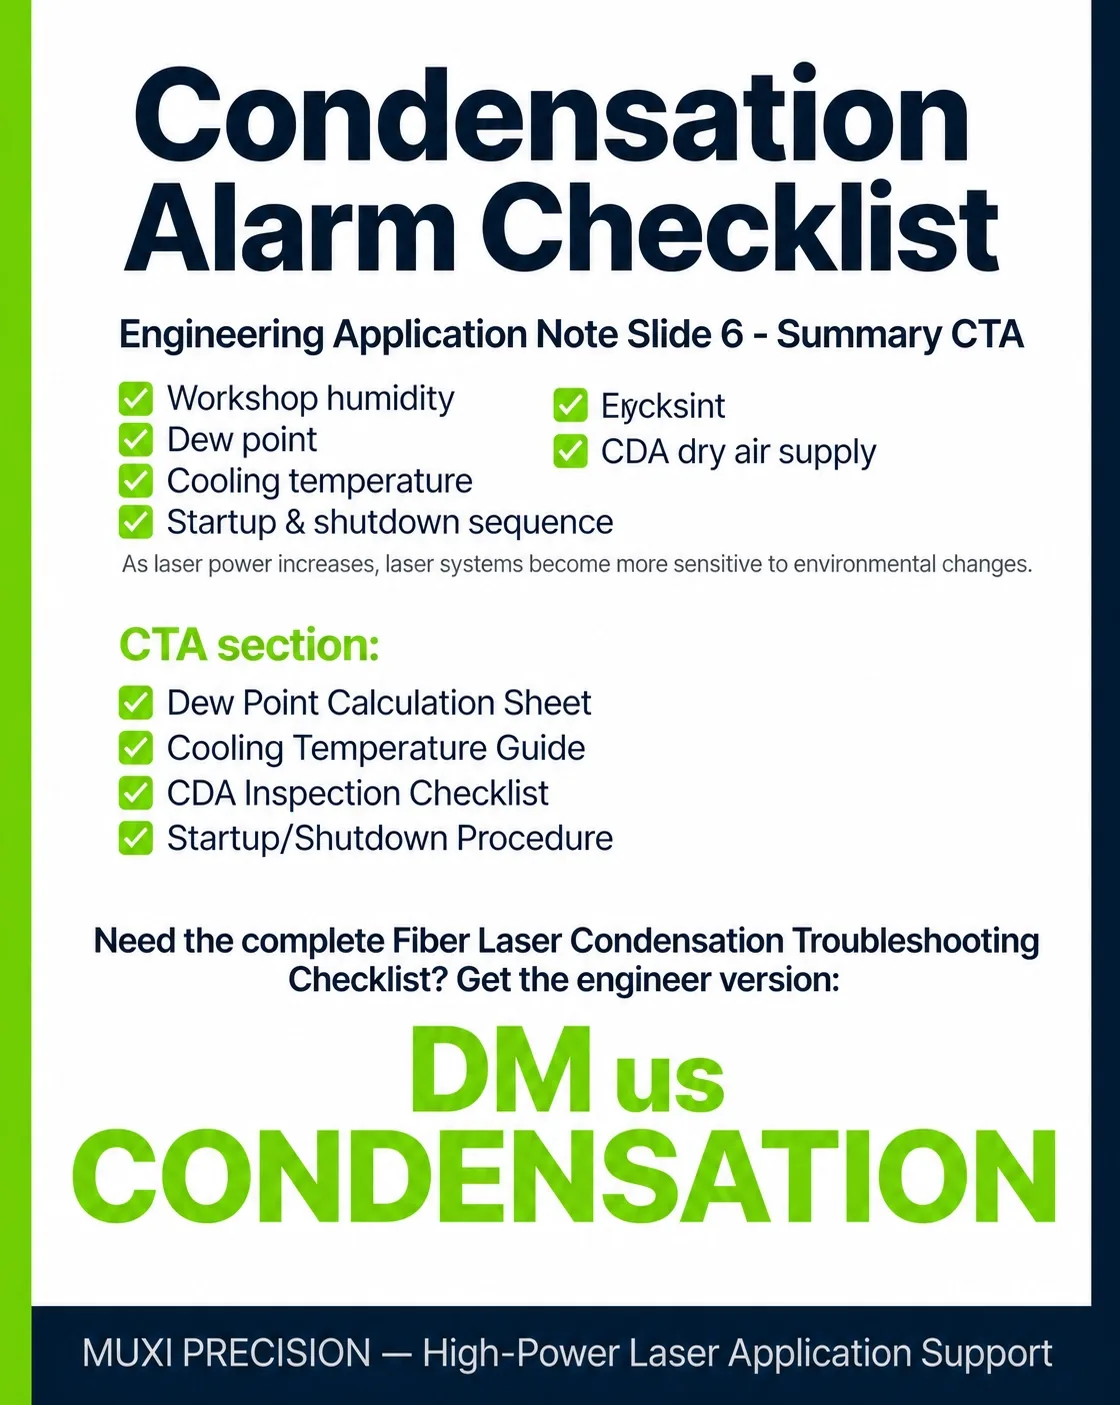
Need the complete Fiber Laser Condensation Troubleshooting Checklist with step-by-step diagnostic procedures, spec tables, and a printable daily verification form?
Contact the MUXI Precision Engineering Team and we'll send you the full checklist — plus a free 15-minute consultation to assess your laser cell's environmental control setup.
📖 Related Blog Articles
- High-Power Fiber Laser Consumables FAQ — Complete guide to nozzles, ceramic rings & protective windows
- Laser Cutting Nozzle Wear Troubleshooting — How to identify, fix, and prevent nozzle wear issues
Need Technical Support or Pricing?
Our engineering team provides remote guidance and setup support for high-power fiber laser systems. Get tailored solutions for your specific cutting requirements.
Need a Stable Fiber Laser Cutting Solution?
Explore Muxi High Power Laser Solutions →